Decorative wall finish with your hands (36 photos): Coating with plaster, paint, trim and flexible natural stone
Table of contents
- 1 Finishing decorative plaster
-
2 Decorative painting
- 2.1 The first method of decoration - sgraffito technique
- 2.2 The second way - machinery monopechati
- 3 Flexible finishing stone
- 4 Decorating with natural stone
- 5 Summing up
- 6 Photo Gallery
The abundance of various decorative materials can awaken the imagination and spur action of any person seeking turn your house or apartment into something original, expressive, carrying the unmistakable imprint of the creative part of their owner.
Decorative wall finish with your hands will allow you to realize themselves, to learn different techniques and make your home truly unique.
Finishing decorative plaster

Price decorative wall finishing depends on the material used
To test your creativity, you can design and decoration of the walls with special structures, called decorative plaster. Their distinguishing feature is the fine structure of the base with the possibility of large inclusions or without them.
layer solidification time is large enough, that allows to give just the plastered surface of a particular invoice.
If you decide to use this method of decoration, you must purchase a sufficient amount of the mixture (dry or ready-made), and water-based paints, as well as to prepare the following tools and accessories work.
Instruments
- capacity;
- Drill with the mixing nozzle or narrow spatula dilution dry composition;
- wide and narrow spatula for the application of "raw" solution, its leveling and impart a decorative effect;
- roller and brush to work with water-based paint;
- a sponge and sandpaper stripping the dried surface.
After the preparation for finishing, sealing large, deep cracks and leveling the surface of the special plaster compositions can get to work: the design of the walls with his own hands.
The sequence of work
- Stir the tank a sufficient amount of dry mixture and add water, being guided by the manufacturer instruction.
- Stir the mixture with water manually or mechanically until homogeneous.
- Apply a large spatula along the edges using narrow solution which distribute arc motions. Thus a wide spatula to press down a finished plane with a strong inclination towards the surface to be decorated. Thus proceed until such time as all the chosen portion will not be covered with a layer of plaster.
- Narrow spatula or zigzag arc movements put bumps in the newly stacked layer. Connect your imagination and experiment. Failed places smooth out wide spatula and re-try the operation again. You can get a scaly surface, wavy, herringbone.
- Upon receipt of the invoice you like, leave it to dry completely.
- After this process the sharp edges of the plaster layer large sandpaper.
- On oshkurenny plaster apply by brush or roller latex paint layer.
- To increase the decorative effect paint can rub in some places wet foam sponge.
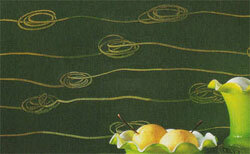
Decorative painting
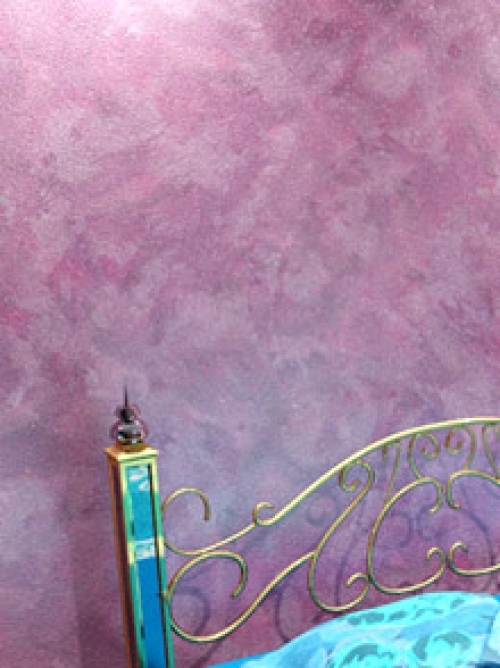
One of the variants of decorative painting
Another type of decoration and home design is a decorative wall painting. There are several techniques that are quite able to take advantage of people without preparation.
To perform this method, finish the following materials and tools:
- Water paint several colors;
- Paint brushes;
- eraser;
- writing paper;
- a sponge;
- acetate fabric.
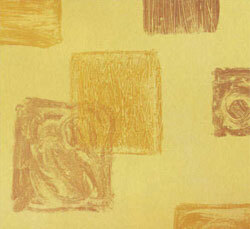
The first method of decoration - sgraffito technique
For its implementation on separate portions of the surface using a roller apply water-based ink of several colors and leave to dry.
sgraffito technique
The next day over the painted wall apply a layer of a contrasting color from mixed in equal proportions latex paints and glazes. Without waiting drying layer on the surface of the eraser draw intricate designs of solid ornate lines.
Against the background of fresh paint patterns are formed on the eve of supported colors. If you have children, you can bring and to implement patterns.
Note! Interesting effects can be achieved primakivaya frescoed surface crumpled paper or compressed foam sponge.
The second way - machinery monopechati
technique monopechati
After complete drying of the first layer to a pre-painted surface is applied a second layer of individual geometrically regular or arbitrary spots.
To make them take the pieces of acetate fabric and images on them with the help of individual spots of light brush. At the same dexterity, paint over the tissue inside the spots should be ornate, original.
With a cloth, you get interesting prints that will harmonize with the main color.
Flexible finishing stone
Another relatively new materials for high-quality decorative finish is a flexible stone.
Decorative element protrudes thin section of a natural stone supported on a flexible substrate. This material is produced in the form of bands or rings of various sizes.
Unlike natural flexible stone has a smaller thickness and glued like ordinary wallpaper or decorative tile. The main advantage of this material is the ability to decorate curved surfaces - arches, niches, columns.
To finish the plane must be carefully leveled and dry. On the surface of the stone strips of flexible adhesive layer is applied, the material is adhered to a substrate.
Warm-laid stone with the help of a flexible building dryer is possible to obtain seamless coverage, as well as to decorate the convex and concave seat.
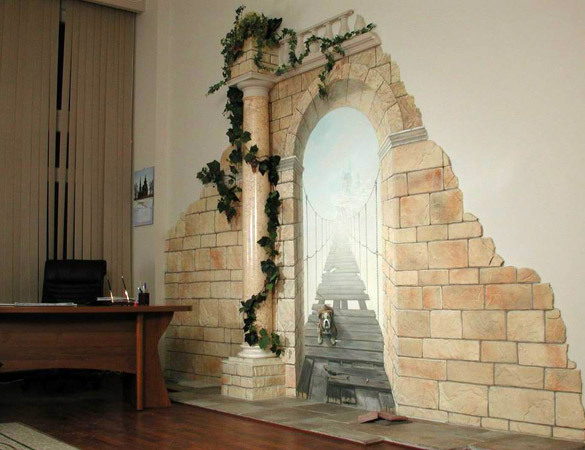
Decorating with natural stone
For many, a preferred use of natural materials in the decoration of your house or apartment, so we consider a natural stone finish.
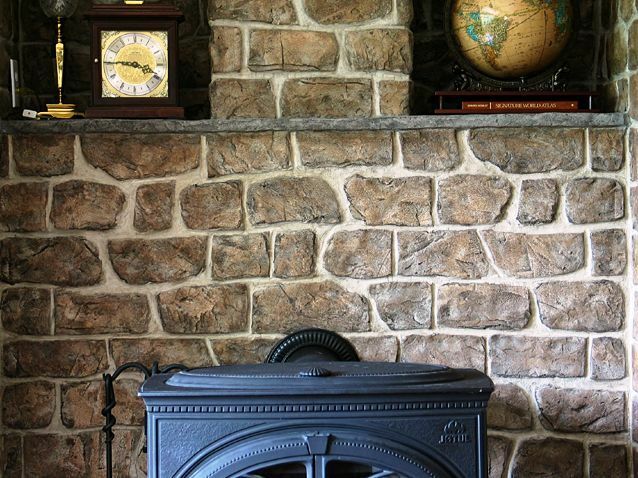
A wall lined with natural stone
When decorating the surface should be carefully prepared. For this purpose, it is embedded deep all irregularities and carefully align the area to be special finishing plaster compositions. After solidification the obtained alignment layer plane primed.
For mounting use natural stone tile adhesive, produced in the form of dry mixes.
Tools required:
- a mixing glue;
- applicator for applying glue to the back surface of the elements;
- rubber mallet for upsetting individual stones during installation;
- bolgarka disk for cutting concrete elements;
- level.
After preparing a solution of tools knead container. Perform the level markup lower layer. Causing a sufficient amount of the diluted adhesive mass directly onto the surface or into separate elements, and press down the stones attach to the wall.
Important! For reliability necessary rap (seating) stacking elements mallet (mallet).
Thus apply all the material on the chosen portion.
After work let the glue to dry and process the stone laid special moisture barrier composition.
In this article, we were not able to cover all the modern methods, which are held with their hands Decorating the walls. But to explore and test in practice the proposed options, you make your home a memorable and original.
Summing up
We hope our article has been helpful to you. In order to more accurately understand the technological and practical issues on our website provides detailed photo and video instruction, in which you will find useful information on the question.
Photo Gallery


 OLYMPUS DIGITAL CAMERA