Alignment of plasterboard walls without frame: selection of the applied method of installation, training walls, cutting and fixing plasterboard sheets
Table of contents
- 1 mounting methods
-
2 installation Procedure
- 2.1 Selecting installation method
- 2.2 Preparing walls
- 2.3 Cutting and fixing plasterboard sheets
- 3 Summing up
To carry out the installation of drywall to the frame is not always appropriate, especially if it is a small room. In this case, the owners of housing will have to resort to the method of frameless installation. For information on how to align the walls of plasterboard without frame is correct, we will cover in this article.
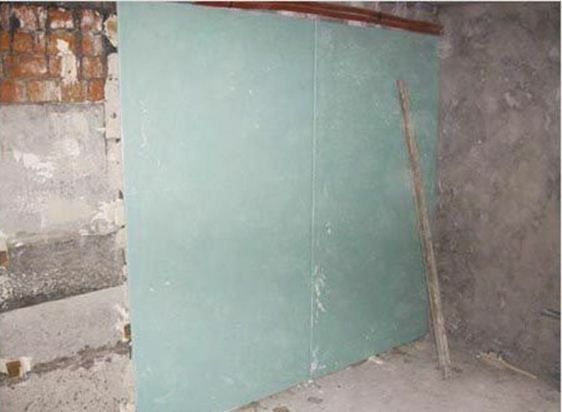
Installing Drywall without frame
Tip!
Before you start gluing, it is necessary to complete the electrical wiring and other communications.
Due to this in the future do not have to spoil the already installed drywall.
Furthermore, the surface to which we are going to mount material, should not be exposed to moisture or frost.
On plaster walls can not be fixed and plasterboard.
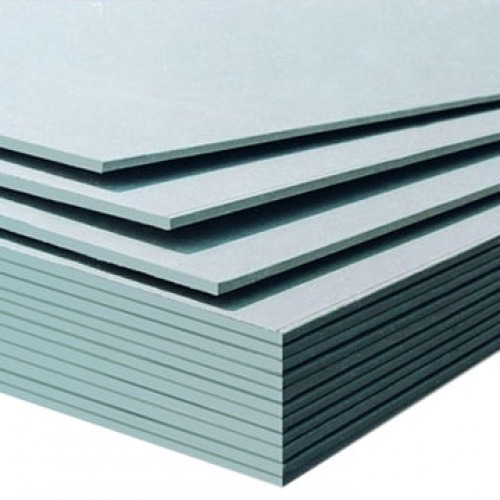
GCR sheets (price - from 162 rubles).
- veneer flooring installation is made up of a new floor covering. When the work is important to note that the temperature should be at least +10 ° C.
- Before you stick sheets couple of days soak them in the room where the material will be installed. This will allow him to adapt to the existing conditions of temperature and humidity.
- If wet rooms use moisture-resistant gypsum plasterboard sheets.
- Do not forget that the wall, which will be attached the material must be strong enough. The surface is required to support the weight of the sheets, which we are going to attach to it.
mounting methods
Install frameless design you can own hands.
In this case, one of the three methods you can use:
- In the case where the roughness of the walls is not more than 4 mm, the bonding material may be carried out using plaster putty. It is applied as a thin layer in the longitudinal beds of the perimeter and center of the pasted sheet.
- If there is unevenness of 4 to 20 mm assembling is performed using a special adhesive. It is applied over the entire surface of the sheet at every 30 cm.
- On the surface having unevenness of 20 to 40 mm plasterboard glued strip and thereto via putty plates themselves.
installation Procedure
Instructions for carrying out the works:
- Selection of the installation process.
- Preparing walls.
- Cutting and fixing plasterboard sheets.
Selecting installation method
The first point - the choice of the installation method. For this we take a plumb or level. With their help determine the value of the irregularities and on it - used method.
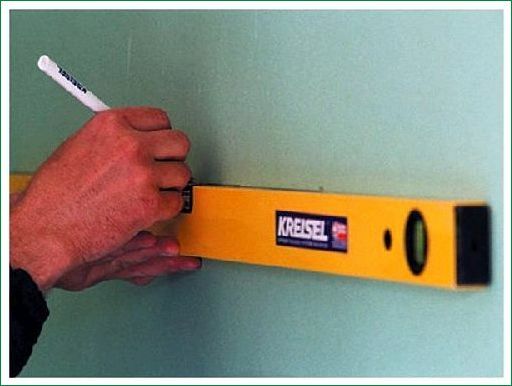
The spirit level check wall irregularities
Preparing walls
- At this stage it is necessary to remove from the walls of all the protruding bumps and dust. If you have oily stains, they should also be removed.
- It is necessary to treat the wall primer. Please note the type of primer composition is determined by the substrate surface.
- After applying the reserve time for drying. (Cm. also the paper to wash the walls before gluing wallpaper: features).
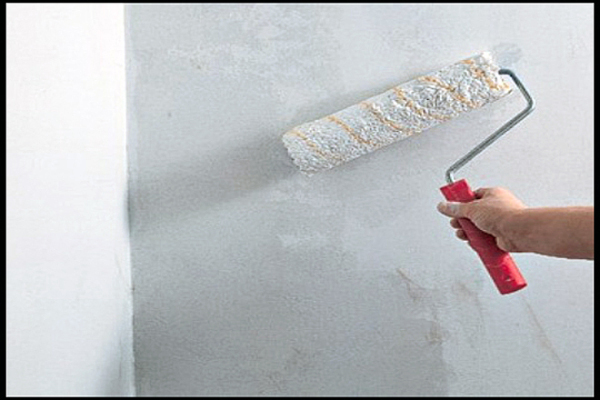
Gruntuem wall
Cutting and fixing plasterboard sheets
- Measure out the required length and cut out the plate. Cut holes in them under the sockets and switches. The height of the plate should be such that the clearance at the bottom left of 8-12 mm, this will avoid damage to the material during the deformation of overlap.
- Cutting drywall is quite simple - the one side of the sheet construction makes an incision with a knife and bend it, then cut through the back side, separating the unnecessary part of us.
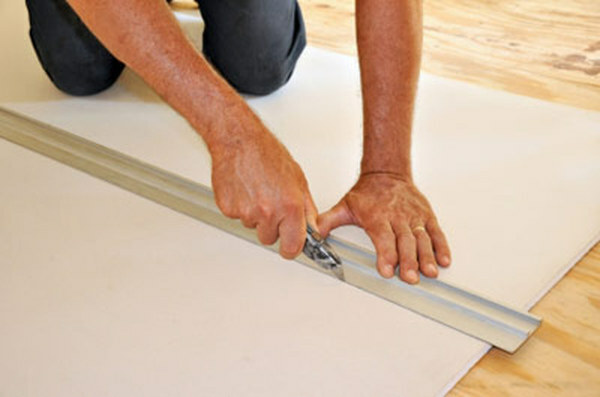
cut drywall
In the first method of installation, using the trowel, the center and perimeter of the plate inflict gypsum plaster. If in the future we are going to append to it something heavy, lubricates the whole sheet.
We laid on the floor trim GCR, which will act as a stand. We put them on a plate and pressed against the wall. Take level, set it to a sheet and light punches aligned vertically.
Tip!
To make it easier to align the plate vertically on the floor and the ceiling in advance draw a corresponding line.
As a rule, begin the installation of the corner of the room. On one side of a sheet pressed against the perpendicular wall, a second side of the new sheet material is pressed against the previously installed corner plate.
Attaching one workpiece after another, progressively go around the whole room. In the presence of doorways presses the sheets directly to them, in the absence of - cut.
The second option is not applied putty and a special glue. Superimpose it over every 30 centimeters (cm. Photo). (Cm. also the paper Finishing plaster for plasterboard: features).
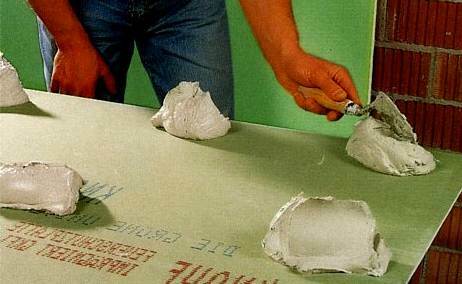
Puts adhesive
The sequence of work is similar to the previous case. If the adhesive squeeze out of the edges, remove it with a spatula.
In the case of the third embodiment, cut a strip width of 100 mm and fix them with adhesive to the wall. The distance between them is desirable to do no more than 40 cm. (Cm. also the article How to hang wallpaper on drywall: features).
Align them in a plane and vertically to each other. We wait till then 2-3 days and proceed to gluing sheets themselves.
Having completed their fixture shpatlyuem joints. After waiting a couple of days, removing the temporary backing, set below. Appeared close up the gap with sealant.
Summing up
Now that you know how to line the walls. In order to more accurately understand the technological and practical issues on our website provides detailed photo and video instruction, in which you will find the necessary information on the question.


