Repair in the bathroom with their hands (48 photos): step by step instructions
Table of contents
-
1 Driving repairs in the bathroom
- 1.1 choice of finishes
- 1.2 Tools and materials
- 2 room preparation
- 3 Decorating the walls
- 4 Bathroom floor
- 5 Summing up
- 6 Photo Gallery
Repair in the bathroom with their hands is perhaps the most troublesome task. This is due, firstly, to a very limited area of the room (in fact in the majority of high-rise buildings bathrooms small enough), and secondly, the fact that in the bathroom most of the time saved increased humidity.
Therefore, special technology is used for the repair of the bathroom and material that moisture is not terrible.
And still decorate the bathroom with their hands is not only possible, but necessary. If you perform most operations on their own, farmed out to professionals only such time-consuming and specific work, as a replacement for wiring or welding at the riser replacement, the budget for repairs significantly decrease.
And it was the financial issue is often a key, especially if you plan to overhaul the bathroom, rather than simply replacing a tile or installation of a new plumbing.
Driving repairs in the bathroom
 choice of finishes
Before starting the repair we determine what we want to see our future bathroom. Remember that the first thing the repair begins in the bathroom - the design!
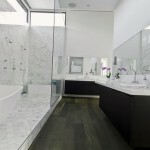
Traditionally, the bathroom floor tile is laid, the wall is lined with the same tiles or plastic sheathe wall panels. However, other embodiments of Repair bathroom using a special water-resistant polymer coating or cork filler floor.
at the height of the wall of human growth or slightly below, you can decorate with mosaics, all above - to paint interior paint.
Thus, the design of your bathroom developed and approved by the family council. The next step - the purchase is necessary to repair the building and finishing materials.
Tools and materials
- cement for plastering the walls with his own hands, and everything ties on the floor;
- waterproofing materials;
- floor tiles (ceramic or stoneware).
Note! In no event should not be laid on the floor wall tiles. Its characteristics do not allow to withstand the stresses faced by sex. Furthermore, the glaze on the tile wall has a low coefficient of friction and sufficiently slippery.
- Wall tiles (choice of shapes, sizes and colors depending on the design of your bathroom);
- tile adhesive;
- plastic panels for wall and ceiling (if you decide not to lay tile) and wooden beams for arranging crates.
Naturally, this is only the foundation of a shopping list for repairs in the bathroom. As a result, you will need even a variety of tools.
So, everything you need to repair purchased. It is time to begin to work themselves for improving toilets. A typical bathroom renovation in brezhnevki or Khrushchev goes as follows.
room preparation
Preparing for repair:
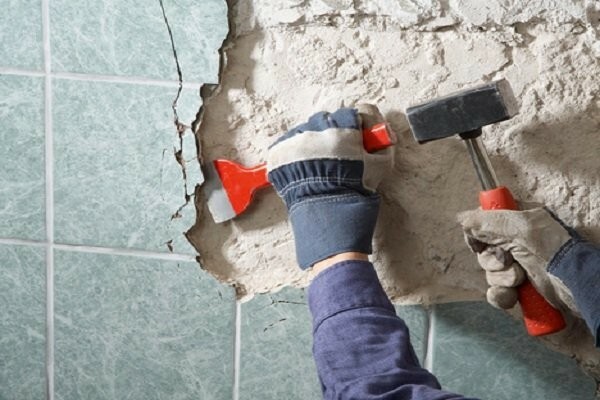
- Before doing repairs in the bathroom, remove the finish on the walls, floor and ceiling. Shoot down tile, paint clean off the spatula and wire brush.
Preparing for repair
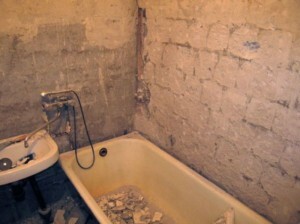
- Check the state of the covering for the floor tiles. If the screed cracks are large enough, it is easier to lay a new tie. In this case a chisel or hammer arming and purify the floor to the concrete base.
- Gruntuem dedusted and pre-cleaned base, develop waterproofing. For waterproofing we use a special film which is laid on the bathroom floor with the walls of the institution in the form of trough. Instead, the film can be used on the basis of surface waterproofing mastic. It is put on the floor and get off at the lower part of the wall in the bathroom with a flat brush or a roller.
- Over the waterproofing Equips leveling screed.
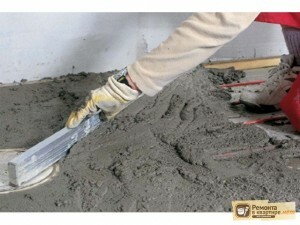
Laying the screed on the floor
- Walls plasterers using cement-based composition (4 parts screened silica sand to 1 part cement brand M400 or higher). To increase the ductility mixture add PVA emulsion, which amounts to 10% of the amount of water in the solution.
- Instead of plaster, you can align the wall by their drywall finishing with additional processing waterproofing mastic. Remember to applying the antifungal composition under the skin.
- Skin of moisture-resistant drywall is attached to the metal profile or pasted directly on the wall using an adhesive such as "Perfliks".
Note! If you plan to trim the plastic wall panels, careful alignment of the walls do not need to spend. But nevertheless it is necessary to treat the walls fungicide.
Decorating the walls
As mentioned above, there are two most common ways of wall decoration in the bathroom - a covering wall panels and tiling.
The sequence of installation of plastic panels:
- For the carcass (so-called furring) on which are secured wall panels, plastic, use pine lumber 25x30 or 30x30 cm. Before mounting the bar handle formulations that prevent rotting wood.
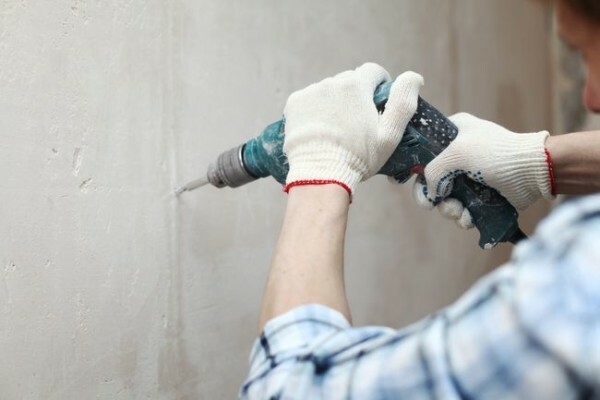
- Lathing on the walls and ceiling are fastened with screws and twists into the pre-drilled holes in the concrete with plastic sleeves.
- The finished crate fasten plastic wall panels (in DIY stores, they are sometimes referred to as a plastic lining).
- The panels themselves may be attached to the sheathing special screws or staples, but in this case several fixing elements will spoil the appearance. Therefore, the best option would be liquid nails.
- The ceiling is sheathed in the same way as the walls. The orientation of the panels along or across the ceiling depends on the size of the room, the main thing that at this stage, generate significantly less waste.
- The ceiling makes a hole in which to insert fixtures such as "fish eyes".
Note! In this case, the wiring must be laid before the start of the headliner.
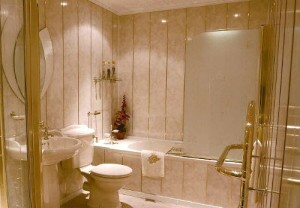
Bathroom, coated plastic panels
- Wall joints with floor and ceiling covered with special lining and the abutment wall panels with a board treat with silicone sealant to protect against the ingress of water droplets and overlapping special molding.
Repair lined wall tiles:
- In previously leveled walls inflict counting using a plumb, water or laser level. Thanks to the lines marking tiles series will be laid flat.
- For gluing tiles using special tile adhesive. If time is limited, you can use adhesive Ceresit SM14 (price - from 345 rub.s), which is characterized by rapid setting - already three hours after laying, you can overwrite the seams.
If you have not yet acquired sufficient experience in tiling, it is better to use adhesive stamps that dry slowly, so you will have time to correct the errors that are inevitable when trying to start stacking tiles.
- Glue is applied to a small area of the wall via the smooth side floats, and then the toothed edge of the same float forming grooves on the adhesive layer. Tile laid into place, after which - presses his hand.
- In order to keep the distances between the tiles in a row and the distance between the rows we were strictly identical, use spacers. They need to be removed prior to complete drying of the adhesive solution.

Wall covering
- After the tile is laid and the solution was sufficiently polymerized (time is dependent on the adhesive type and may range from 3 to 24 hours), proceed to grouting. Sutures overwrite special mixture diluted to a thick paste.
- When the mixture starts to polymerize trowel, my tile warm water using a sponge or a porous net flannel fabric.
Bathroom floor
Repair of the standard bathroom often includes not only the walls, but also the replacement of the flooring. What can we put on the floor?
Firstly - wood. The wooden floor is beautiful and eco-friendly, but - swells. Not save him even a deck varnish. So, if you're determined to put a floor made of solid natural wood boards, choose breed like teak or larch - they are less prone to deformation in wet environments.
Secondly - a stopper. Cork is pleasant to the touch, eco-friendly, it is not slides. However, in the case of cork flooring, as well as with wood, it is necessary to take care of protection from swelling.
Third - tile or stoneware tiles. Perhaps, this option can be attributed to the classic. Tile is not afraid of moisture, so it is stacked (and continue to be laid) more often. As same wire laying tile on the floor?
Basically tiling technology to the floor is similar to the lining of the walls of the technology, but there are some differences.
Laying tiles on the floor
Let's consider them:
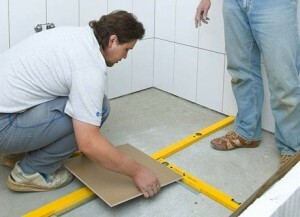
- At pre-aligned using a specially screed floor tile adhesive. The area of application should not exceed 0.7 - 1m2, as most brands of tile adhesives dry quickly enough.
- Forming grooves on the adhesive layer using a notched trowel, the glue laid on the tiles. Laid tile presses his hand to the floor, and then - tapping special hammer with a rubber nozzle in the direction from the center to the edges of tiles.
- Not yet dried up glue, laid tile check using a spirit level. If necessary - adjust the position of the tiles, more pressing her to the ground, or by adding the required amount of glue.
- Clipped tiles on the perimeter, around pipes and other such places should be laid in the last turn.
- After polymerization, the adhesive is overwritten tile joints and then - my tile by removing residues of the adhesive solution and the mixture trowel.
Refurbished so bathroom is ready for use or replacement of plumbing, if the planned repairs in the bathroom with their hands and include this step.
Summing up
We hope our article has been helpful to you. In order to more accurately understand the technological and practical issues on our website provides detailed photo and video instruction, in which you will find useful information on the question.
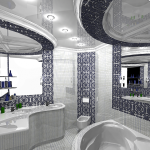
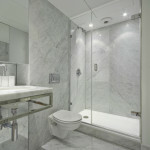
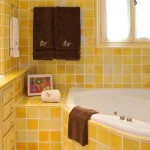
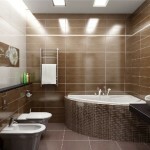
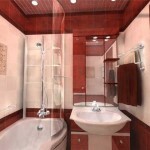
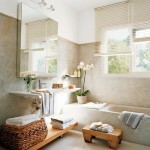
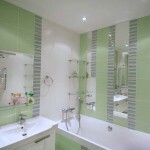
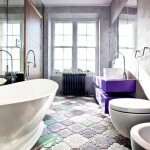
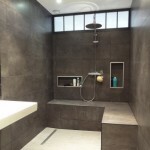
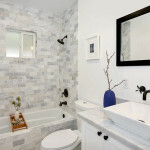
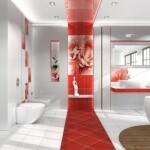
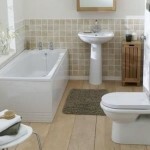
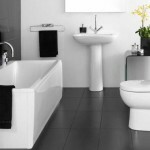
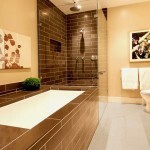
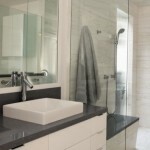
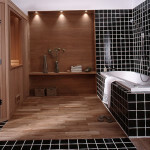
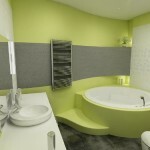
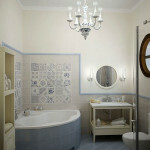
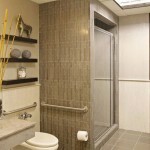
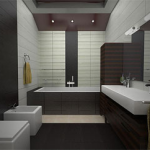
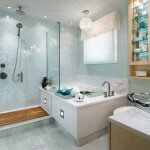
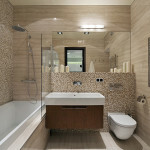
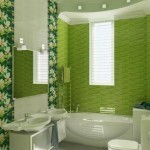
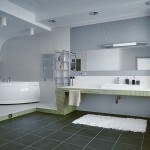
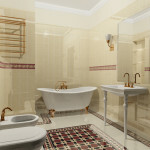
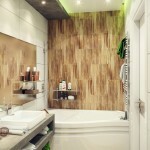
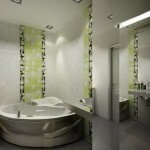
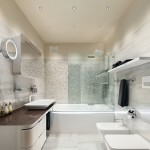
Photo Gallery